Distance estimation
At a glance
Estimate the distance from each detected object to the camera, by combining a depth-model prediction with a per-deployment calibration.
- Time: ~20 minutes for first calibration; estimation itself runs automatically as part of the AI pipeline
- Who: project admins setting up distance-aware analytics for a deployment
- Prerequisites: a deployment with capturable reference points at known distances
Where the pieces live
The schemas are in trapper-schemas (subpackage depth), inference runs in trapper-ai-worker (trapperai-predictors-torch-depth / trapperai-predictors-hailo-depth), and per-deployment fitting + running is configured in this admin.
The two phases
- Calibration — per deployment. A handful of its Resources get reference points marked at known distances (a Calibration sample each); running the calibration action fits a calibration model from those samples and stores it as that deployment's Deployment calibration result. There's no separate "calibration deployment" concept — calibration is attached directly to the deployment that needs it, because camera placement (height/tilt/angle), not just the camera/lens model, affects the depth-to-distance mapping.
- Estimation — running the estimation action on a deployment integrates the depth-model output across each tracked object, using that same deployment's active calibration result, and writes the median distance into
ClassificationDynamicAttrs.distance.
Before you begin
- A deployment exists for the camera/lens combination you want to calibrate
- A depth-model AI Provider (
trapperai-predictors-torch-depthortrapperai-predictors-hailo-depth) is configured and active - You can physically visit the deployment site to place reference markers (or already have footage with known-distance markers)
Steps
1. Capture calibration footage in the field
Set up the camera the way you'll deploy it (same height, tilt, lens). Place a target with a clear visual marker (a tripod with flagging tape works) at known distances — e.g. 2 m, 5 m, 10 m, 15 m, 20 m. Capture 5–10 photos / a short video at each distance, and record each (distance, target visual ID) pair in your field notebook.
A handful of distinct distances (5–8) is plenty — the calibration is a function-fit, not a brute-force lookup.
2. Set up the deployment and upload the footage
- Geomap → Deployments, click the + icon.
- Fill in the camera + location as usual. There's no calibration-specific flag to set — any deployment can be calibrated.
- Save, then upload the calibration footage via any path (Citizen Science frontend,
trapper-tools, FTPS) — the resources land in this deployment like any other.
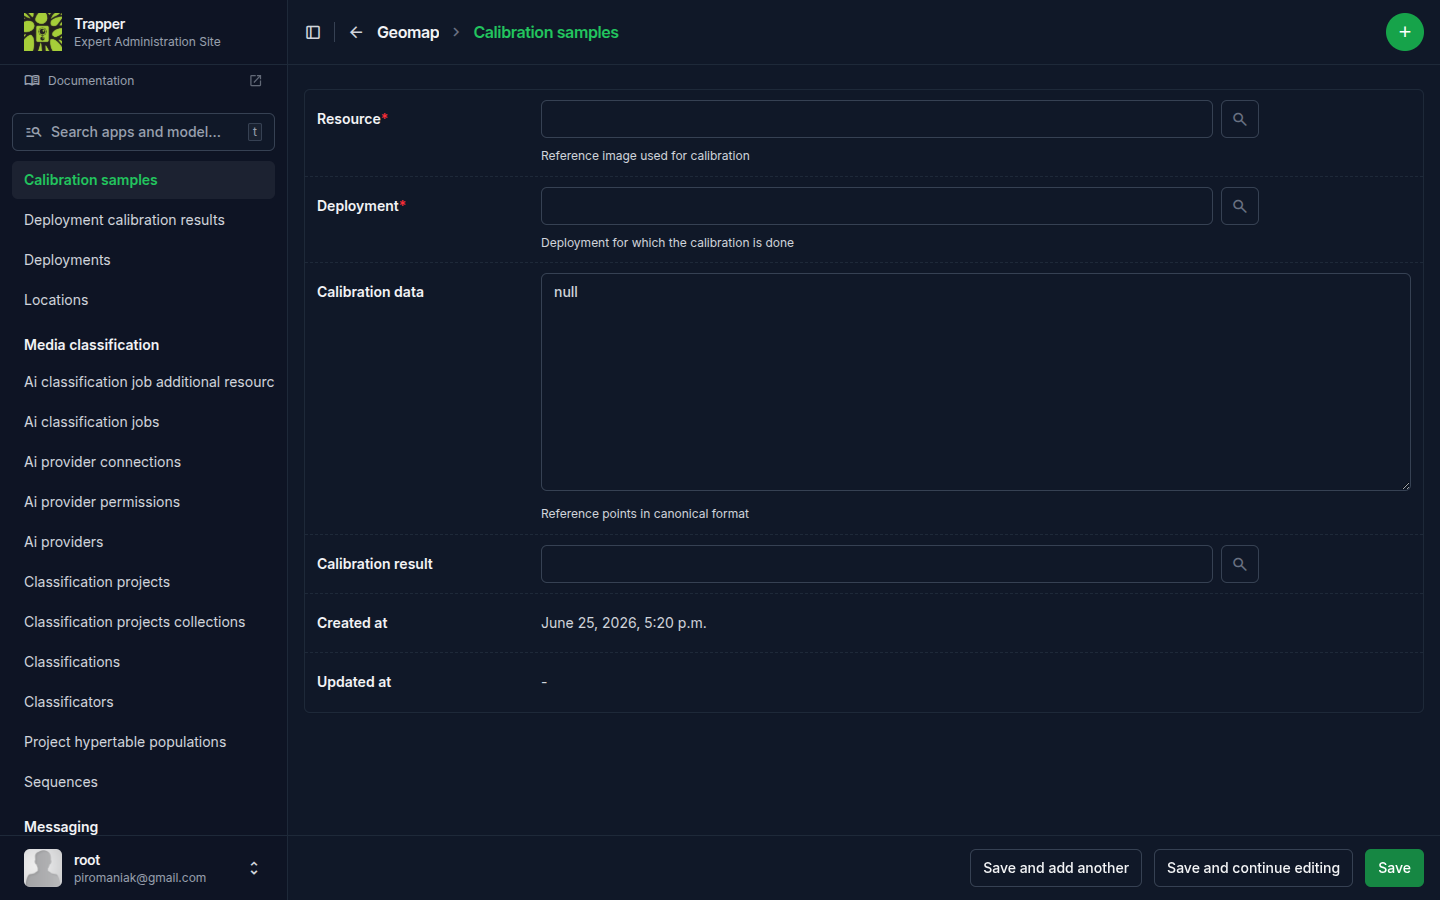
3. Collect reference points
For each reference resource, Geomap → Calibration samples, click the + icon, and pick the Resource and Deployment. The Calibration data field is where you mark the visual target and enter the known distance in metres (canonical shape: a list of {bbox, distance, frame_index} reference points — frame_index lets one record hold points drawn on different frames of the same video). Repeat for every distance you captured.
4. Fit the calibration model
Select the deployment(s) in Geomap → Deployments, and run the Run depth calibration for selected deployments action. Its form (page title: "Re-run depth calibration") asks for:
| Field | What it does |
|---|---|
| Classification project | The project whose depth AI model should run the calibration job |
| Fit method | Least Squares (single affine fit) or Piecewise Linear (curve through all reference points); leave on "use project default" to inherit from the project's prediction_config |
| Distance percentile | Depth percentile sampled within each marker's bbox at inference time (default 20) |
| Blur markers | Gaussian blur sigma applied to marker bboxes before the depth predictor sees them, to suppress the visual marker itself (0 disables) |
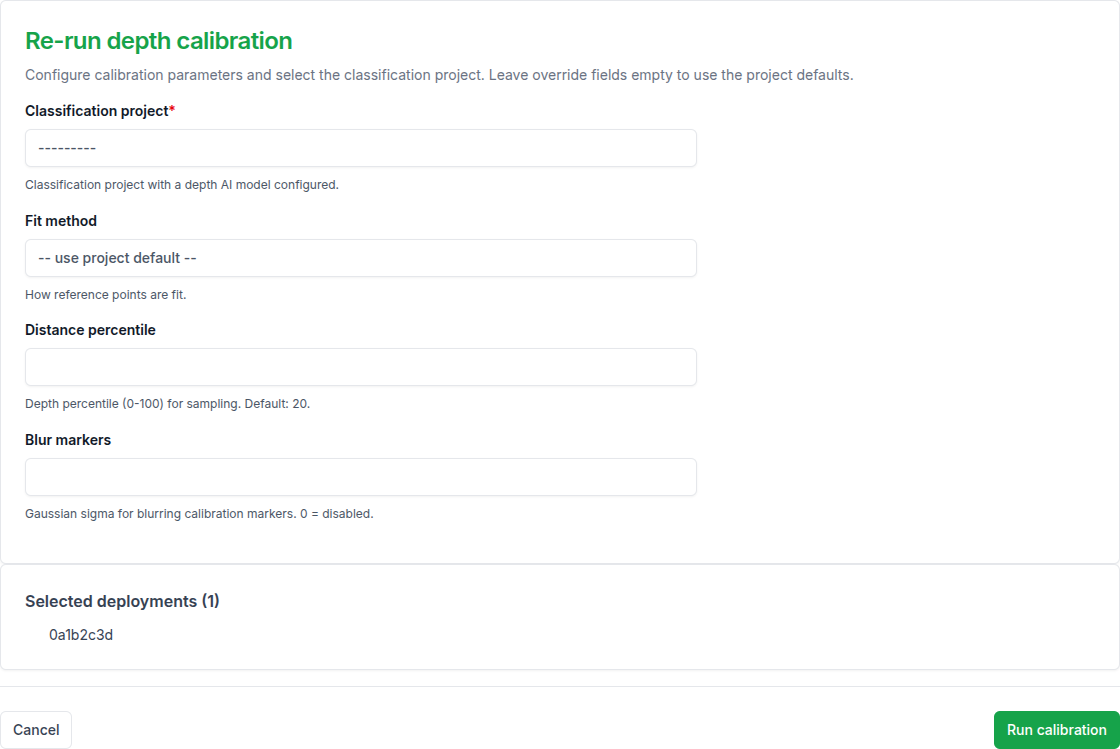
The result is stored as a Deployment calibration result (visible inline on the deployment, and as its own Geomap → Deployment calibration results list) — Depth provider, Is active, Calibration job id. Re-fit any time you edit reference points by repeating this action.
5. Run distance estimation
Select the same deployment(s) and run Run distance estimation for selected deployments (override existing results). Its form ("Re-run distance estimation") requires a Classification project with a depth AI model, and lets you override that project's defaults per run:
| Field | What it does |
|---|---|
| Observation type / Classification ids | Narrow which classifications get (re-)estimated, instead of all FINAL classifications on the deployment |
| Target fps | Downsample video before depth/SAM processing |
| Max distance / Min distance | Clipping range in metres (defaults 30 / 0.1) |
| Distance percentile | Depth percentile for sampling (default 20) |
| Sam enabled | FastSAM mask-based depth sampling on/off |
| Kalman enabled | Per-object Kalman filter on the depth percentiles on/off |
| Smooth enabled / Smooth ema alpha | Post-hoc Hampel+EMA smoothing of the distance series, and its EMA factor (default 0.15) |
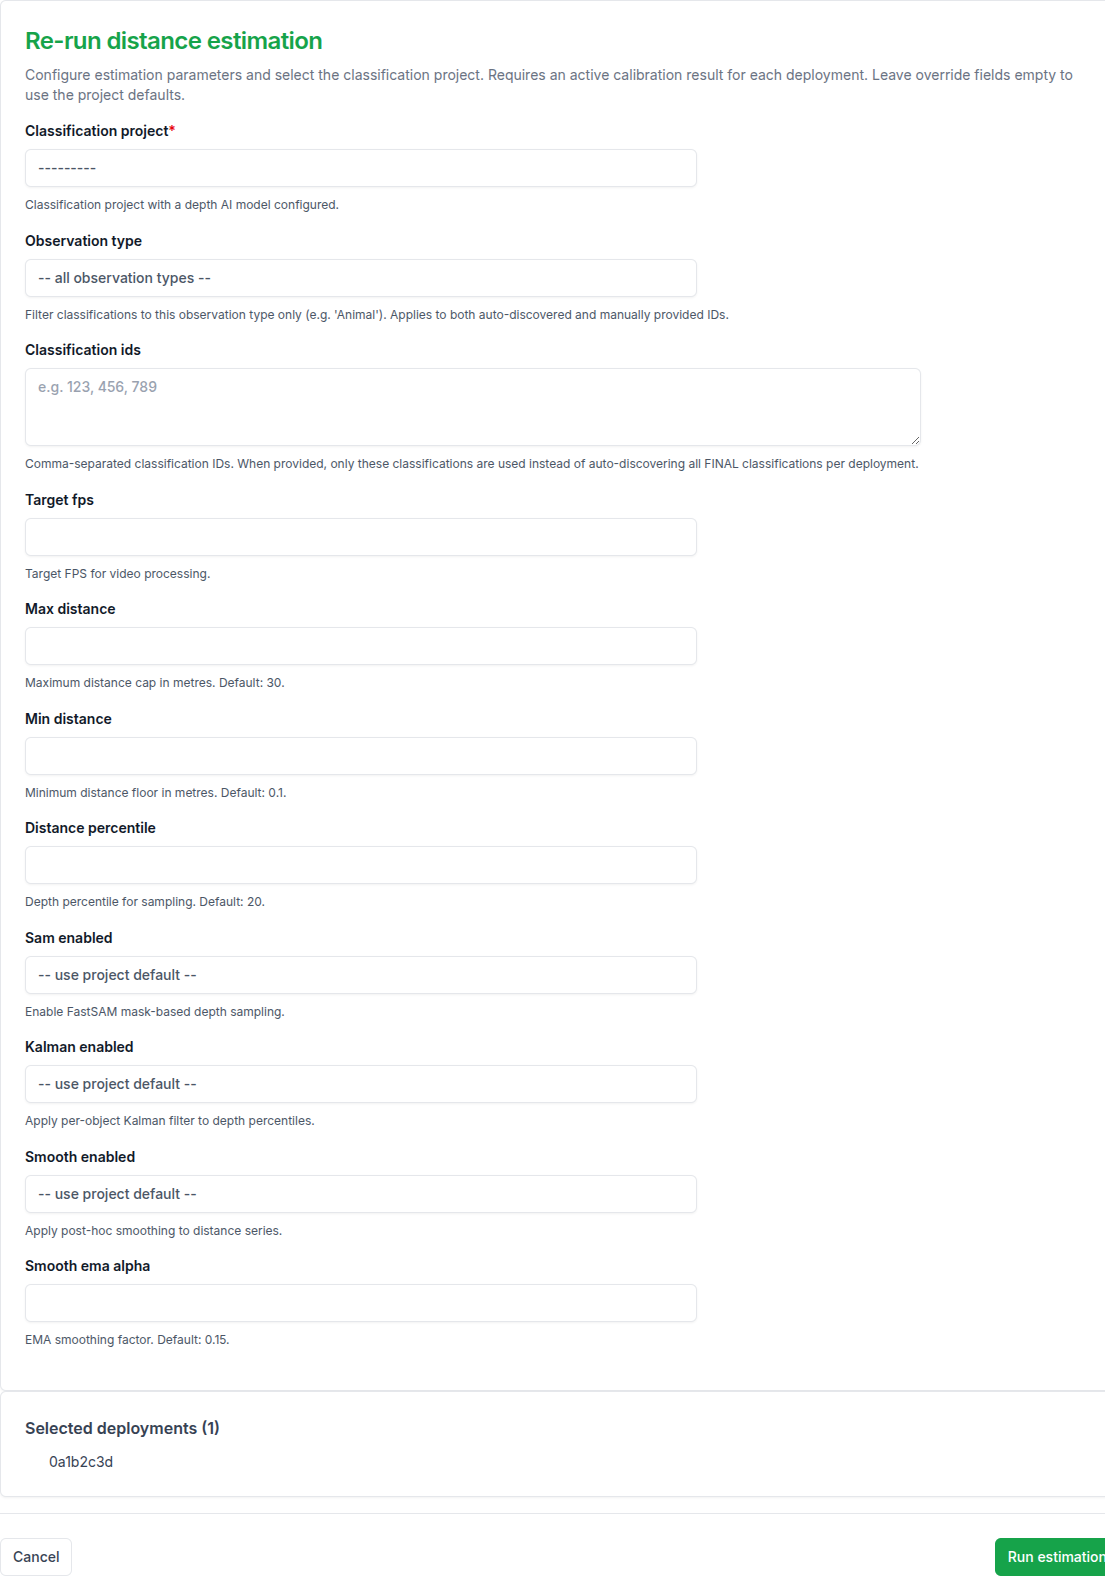
The action's own description is explicit that it requires an active calibration result on the deployment — run step 4 first. Leaving an override field empty falls back to the Classification Project's prediction_config defaults for the "Distance Estimation" job type.
For new resources, this same estimation runs automatically as part of the AI pipeline once the depth AI model is set on the Classification Project — this manual action is for re-running on existing data or for tuning the override parameters without changing the project defaults.
Configuration reference
The table above covers the fields exposed in the admin override form. DistanceEstimationConfig (in trapper-schemas, subpackage depth) is the complete set the worker actually reads, including tuning knobs not exposed there — SAM segmentation, alignment stabilisation, depth-map smoothing — generated from the schema itself, so it can't drift from what the worker validates against:
Distance Clipping
| Field | Type | Default | Description |
|---|---|---|---|
max_distance |
float | 30.0 |
Maximum distance cap (metres) |
min_distance |
float | 0.1 |
Minimum distance floor (metres) |
Depth Sampling
| Field | Type | Default | Description |
|---|---|---|---|
distance_percentile |
float | 20.0 |
Depth percentile for sampling (Haucke: 20th) |
SAM Segmentation
| Field | Type | Default | Description |
|---|---|---|---|
sam_enabled |
bool | True |
Enable FastSAM mask-based depth sampling |
sam_weights |
str | "FastSAM-x.pt" |
FastSAM weight file |
Alignment Stabilisation
| Field | Type | Default | Description |
|---|---|---|---|
stabilizer_enabled |
bool | False |
Enable temporal alignment stabilisation |
stabilizer_buffer_frames |
int | 10 |
Frames pooled for CDF stabilisation |
stabilizer_ema_alpha |
float | 0.3 |
EMA factor for RANSAC smoothing |
align_subsample |
float | 0.2 |
Fraction of background pixels for alignment |
Depth Map Smoothing
| Field | Type | Default | Description |
|---|---|---|---|
depth_smoother_window |
int | 0 |
Savitzky-Golay window size (0=disabled, odd>=3) |
Distance Smoothing
| Field | Type | Default | Description |
|---|---|---|---|
smooth_enabled |
bool | True |
Apply post-hoc smoothing to distance series |
smooth_window_seconds |
float | 2.0 |
Hampel window duration (seconds) |
smooth_n_sigma |
float | 2.5 |
Hampel outlier threshold (MAD units) |
smooth_ema_alpha |
float | 0.15 |
EMA smoothing factor |
Kalman Filter
| Field | Type | Default | Description |
|---|---|---|---|
kalman_enabled |
bool | True |
Apply per-object Kalman filter to depth percentiles |
kalman_process_noise |
float | 0.01 |
Expected per-frame depth change |
kalman_measurement_noise |
float | 0.2 |
Expected depth sampling jitter |
Verify it worked
Open a resource and check the per-object distance values in the classification panel — the metric is "median distance across the smoothed track", shown as a numeric column on each ClassificationDynamicAttrs row.
A useful sanity check: run estimation against the calibration footage itself and verify the predicted distance matches the ground truth at each marker.
Troubleshooting
Distances look systematically off by a constant factor
Common causes: reference points only at one or two distances (add more), or a Least Squares fit on a camera with non-linear depth behaviour (switch to Piecewise Linear).
Distances are noisy/jittery
Make sure Smooth enabled and Kalman enabled are on; tune Smooth ema alpha per project if the default oversmooths or undersmooths.
Estimation action fails immediately
Check the deployment actually has an active Deployment calibration result — the action requires one and won't fall back silently.
For cross-system context: depth-model schemas live in trapper-schemas/src/trapper_schemas/depth/, predictor implementations in trapper-ai-worker/packages/predictors-torch-depth/.
Next steps
- Configure trackers — tracking quality directly affects how well distance estimation can integrate across frames